










Supercross BMX | Ensemble de bras de renvoi Vision
$ 9.95 - $ 99.95
- How to use
- Styles
- Overview
I see this almost every weekend at the track. A rider rolls up on a Vision F1, F1x, or RSX, the bike looks clean, but the idler is set up wrong. Sometimes the chain is jumping off the rear cog at the gate drop. Sometimes the chainline is off and the rider is leaving watts on the table without knowing it. Most of the time it's a 60-second fix that nobody ever showed them.
So here it is, the right way to set up your idler on a Vision F1, Vision F1x, or RSX. Read it once, do it right, and don't think about it again.
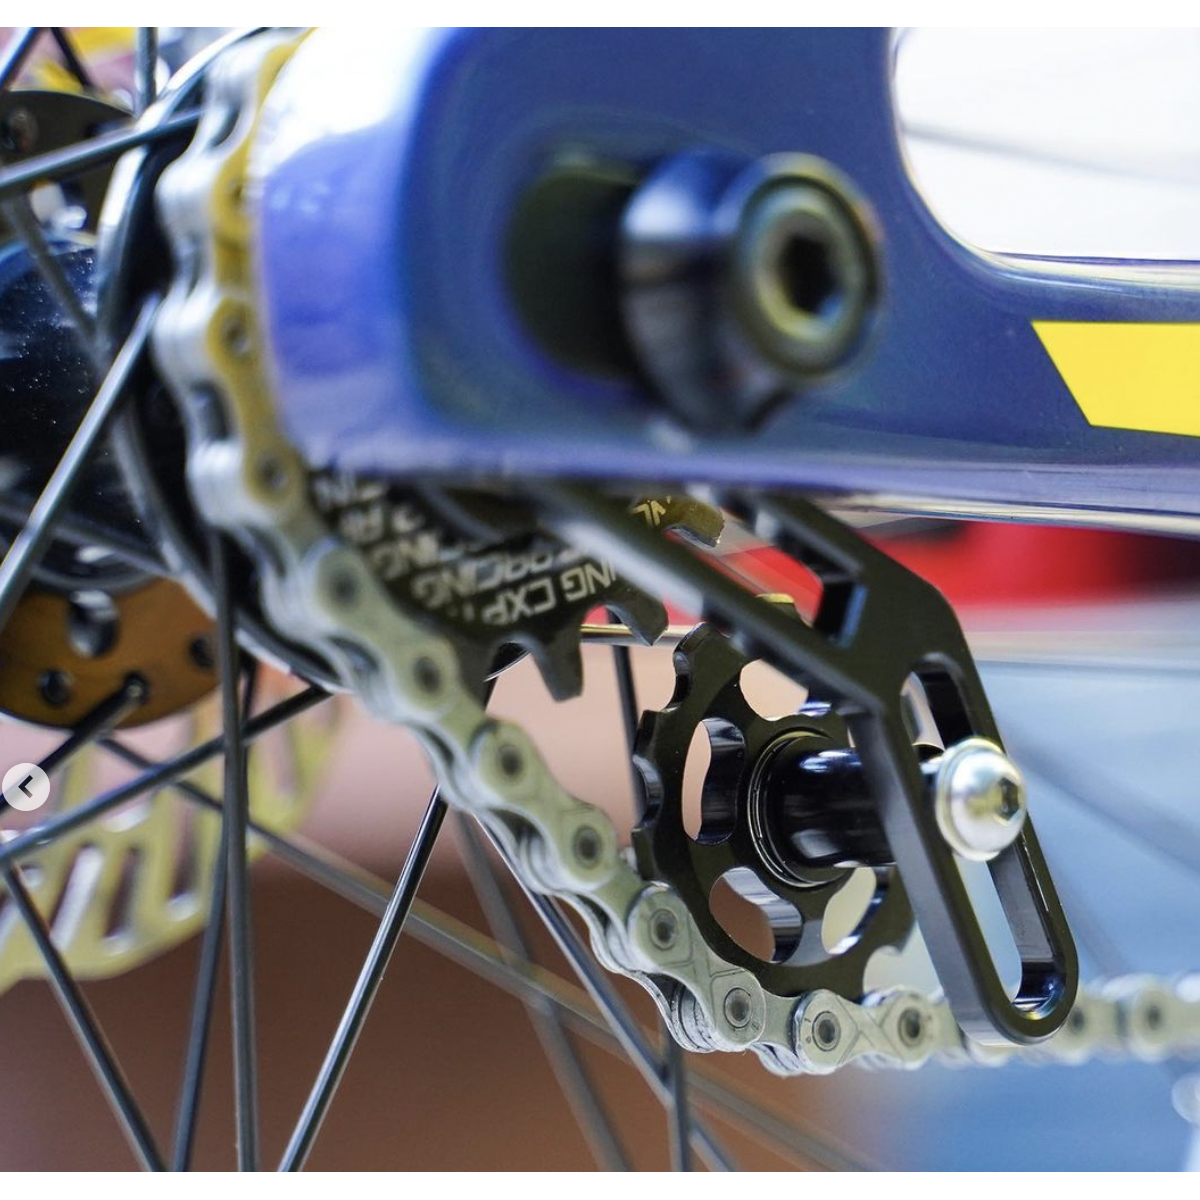
Get the Idler as Close to the Chainstay as Possible
This is the first thing, and it's the thing most riders miss.
Your idler exists to do one job — keep as much of the chain wrapped around the rear cog as possible. More wrap means more teeth engaged. More teeth engaged means a stronger, more positive drive when you slam the pedals at the gate, and a chain that's far less likely to skip or jump under load.
When you mount the idler, run it as tight to the chainstay as the hardware will allow. Not centered in the slot. Not "looks about right." As close to the stay as it goes without the idler body or the chain touching the stay itself. That's where the wrap is maximized and that's where it belongs.
If you walked it back out into the middle of the slot the last time you cleaned the bike, fix that now.
Spring-Tension Idlers — Set the Tension to Match Your Riding
The spring-tension idlers are designed to be adjustable. That's the whole point. There is no single "correct" tension number that works for every rider, every gear, and every track.
A lighter rider on a smaller gear running smooth concrete tracks doesn't need the same tension as a heavier rider pushing a 44/16 over rough dirt with big jumps. Start with the spring set somewhere in the middle of its range and ride it. If the chain feels slappy or noisy through rough sections, add tension. If the bike feels like it's fighting you out of the gate, back tension off a touch. Dial it in to your weight, your gear, and the track you ride most.
Listen to the bike. It'll tell you what it wants.
Never Lock the Spring Out
Read that again, because this is the single most common mistake I see.
Do not crank the spring all the way down so it's fully compressed and rigid. A locked-out spring takes all the give out of the system, and the second you hit a bump or load the chain hard at the gate, the chain has nowhere to absorb that energy. It skips. It jumps off the cog. Sometimes it derails entirely.
The spring needs to move. That's its job. Keep it inside its working range. If you've cranked it down so far that the idler feels solid in your fingers, you've gone too far. Back it off.
Always Use Blue Loctite on the Idler Bolt
Every time you replace the idler bolt — or pull it for any reason and put it back — put a drop of Blue Loctite on the threads. Not red. Blue.
Blue Loctite holds the bolt against the vibration of a BMX bike under hard riding, but it lets you back the bolt out again with normal hand tools when you need to service the idler. Red is permanent — don't use it here.
This is a 5-second step that prevents a lost bolt at the worst possible moment. Don't skip it.
Get Your Chainline Straight — 45mm, Both Sides
The Vision F1, Vision F1x, and RSX are all designed around a **45mm chainline**. That's the number to build to.
What 45mm means in plain terms:
- Front: From the centerline of the bottom bracket out to the center of the front chainring should measure 45mm.
- Rear: From the centerline of the rear hub out to the center of the rear cog should also measure 45mm.
When both of those numbers are 45mm, the chain runs in a straight line from the front chainring back to the rear cog, through the idler, with no side-load fighting it. That's how the frame was designed to be ridden, and that's how you get every bit of power transferring without the chain trying to climb teeth or wear edges off the cog.
If your chainline is off — wrong cog spacer stack, wrong chainring offset, a swap to a non-stock crank or hub — the idler can't save you. Get the chainline right first, then set the idler.
The Quick Checklist Before You Roll Out
Run through this every time you service the bike or swap an idler:
1. Idler is as close to the chainstay as the hardware will allow.
2. Spring tension is set for your weight, your gear, your track — not locked out.
3. Blue Loctite on the idler bolt anytime it goes back in.
4. Chainline measures 45mm at the bottom bracket and 45mm at the rear hub.
Sixty seconds. Do it right, and the bike does what it was designed to do.
That's how the F1, F1x, and RSX were built to run. Set them up the way the engineers drew them up and they'll reward you.
Four Styles Available -
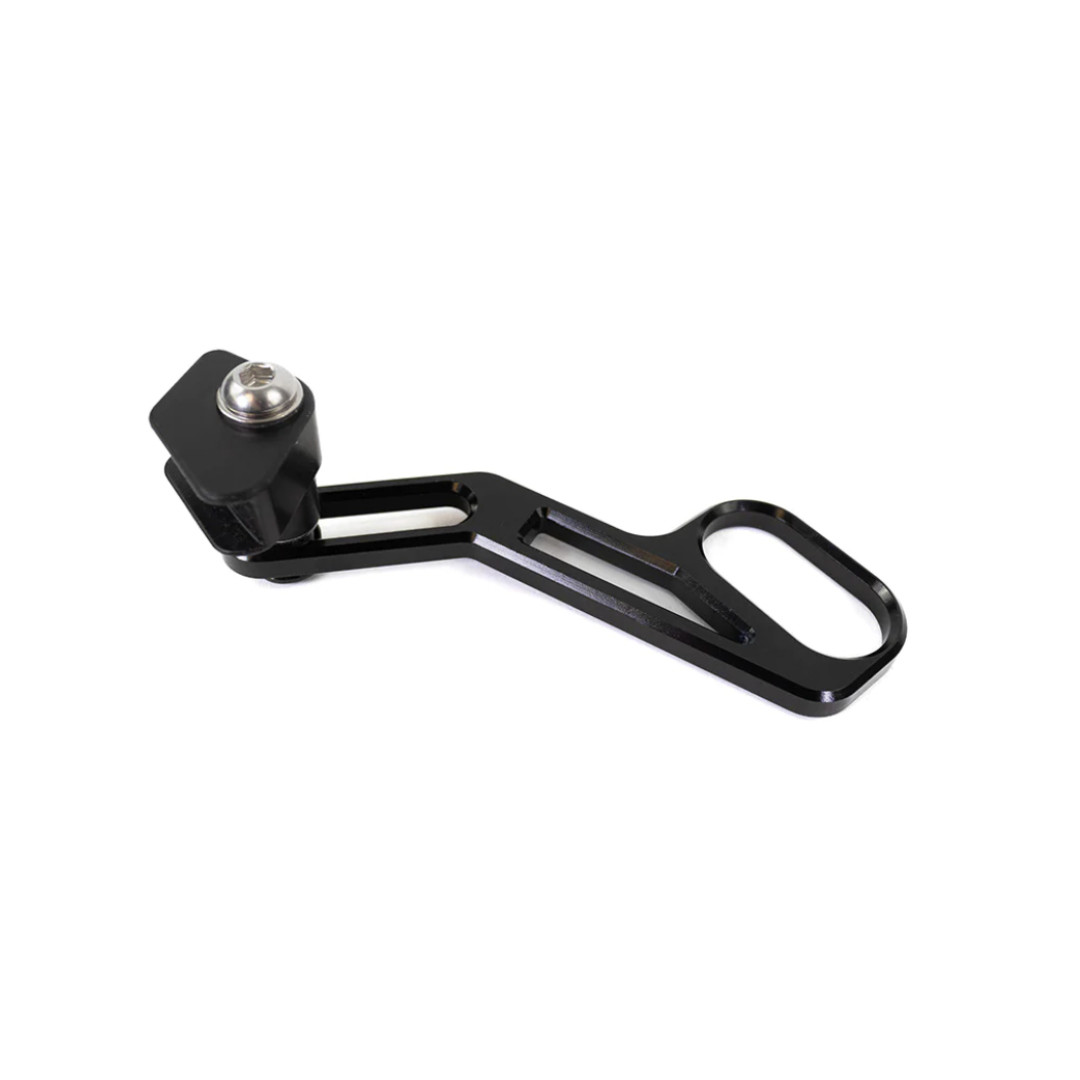
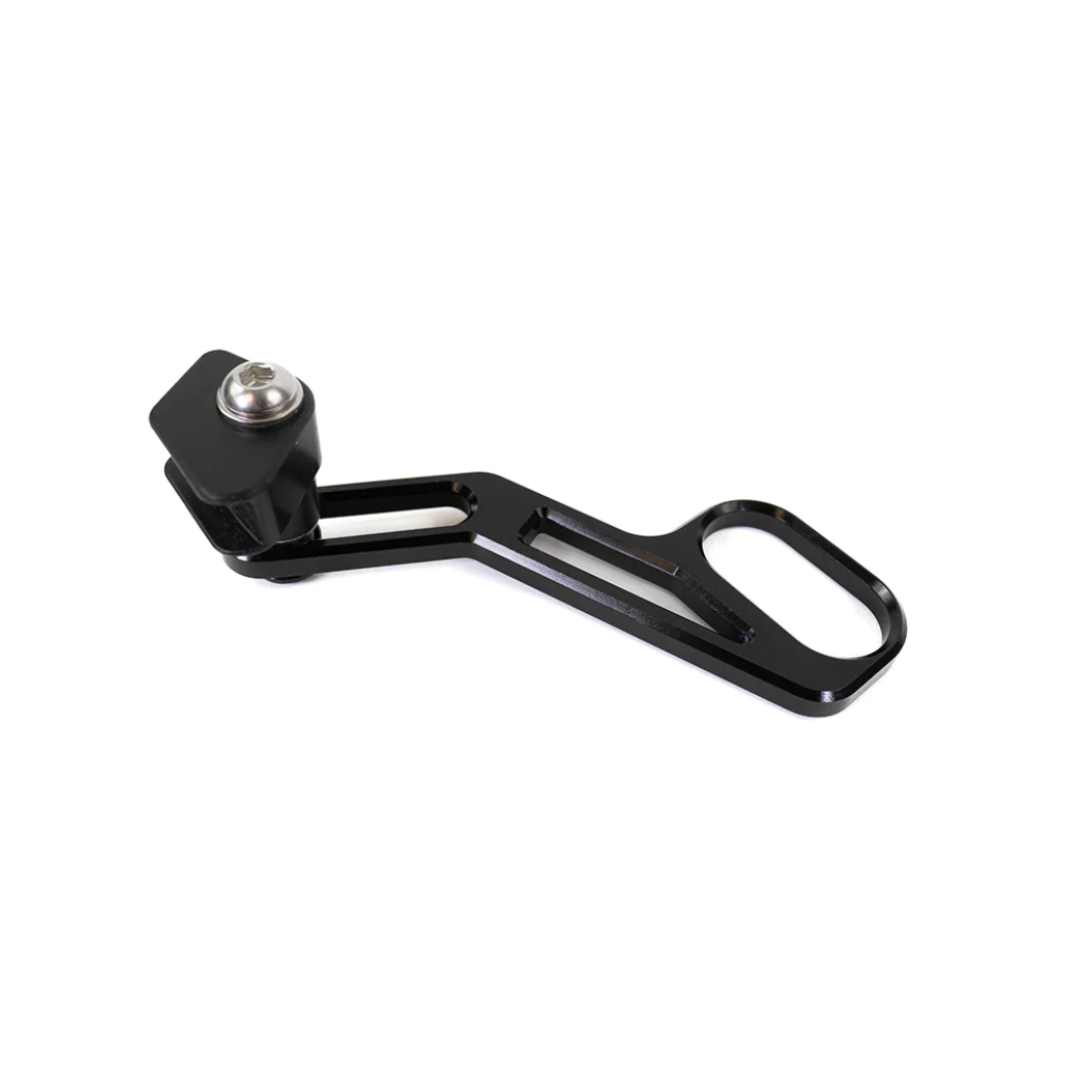
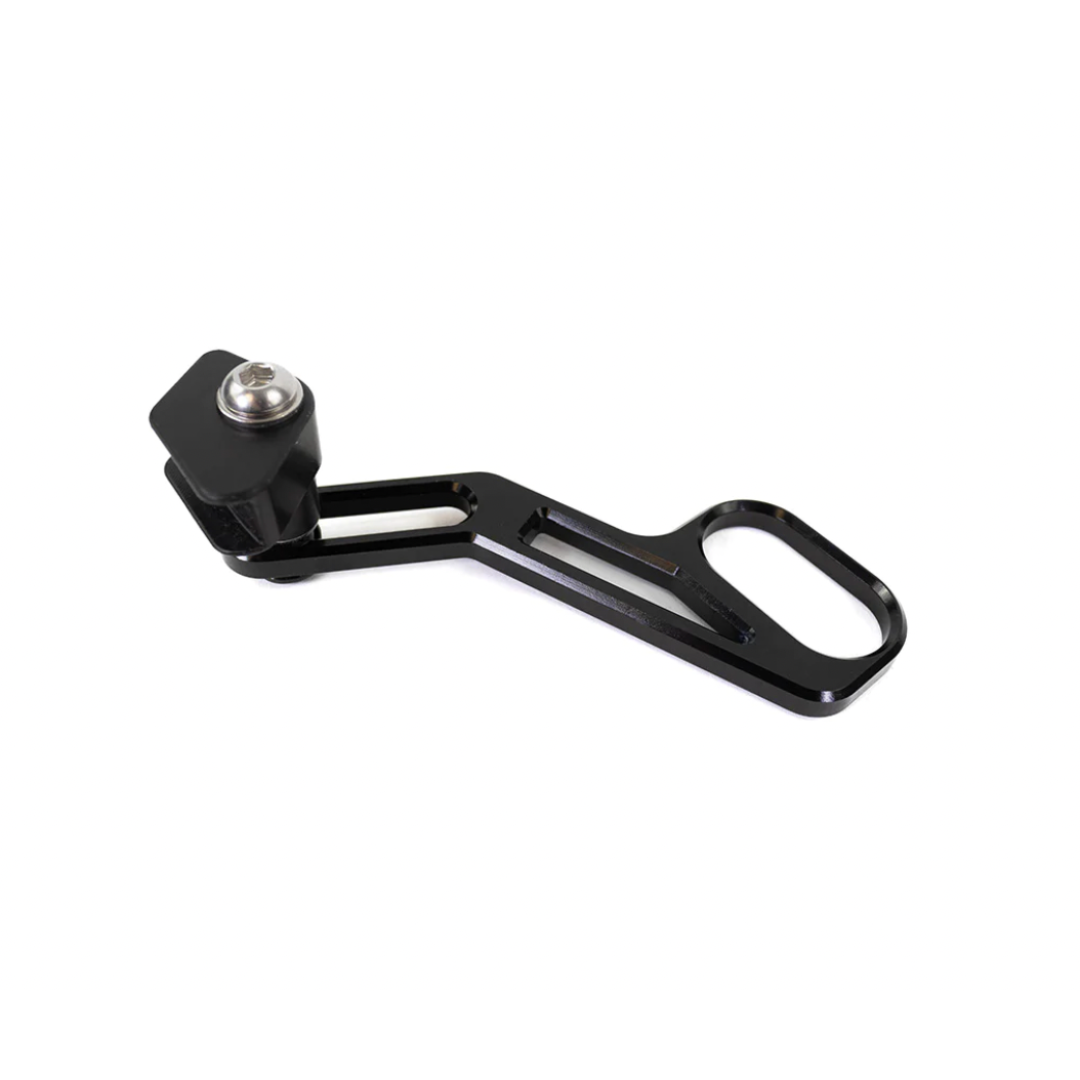
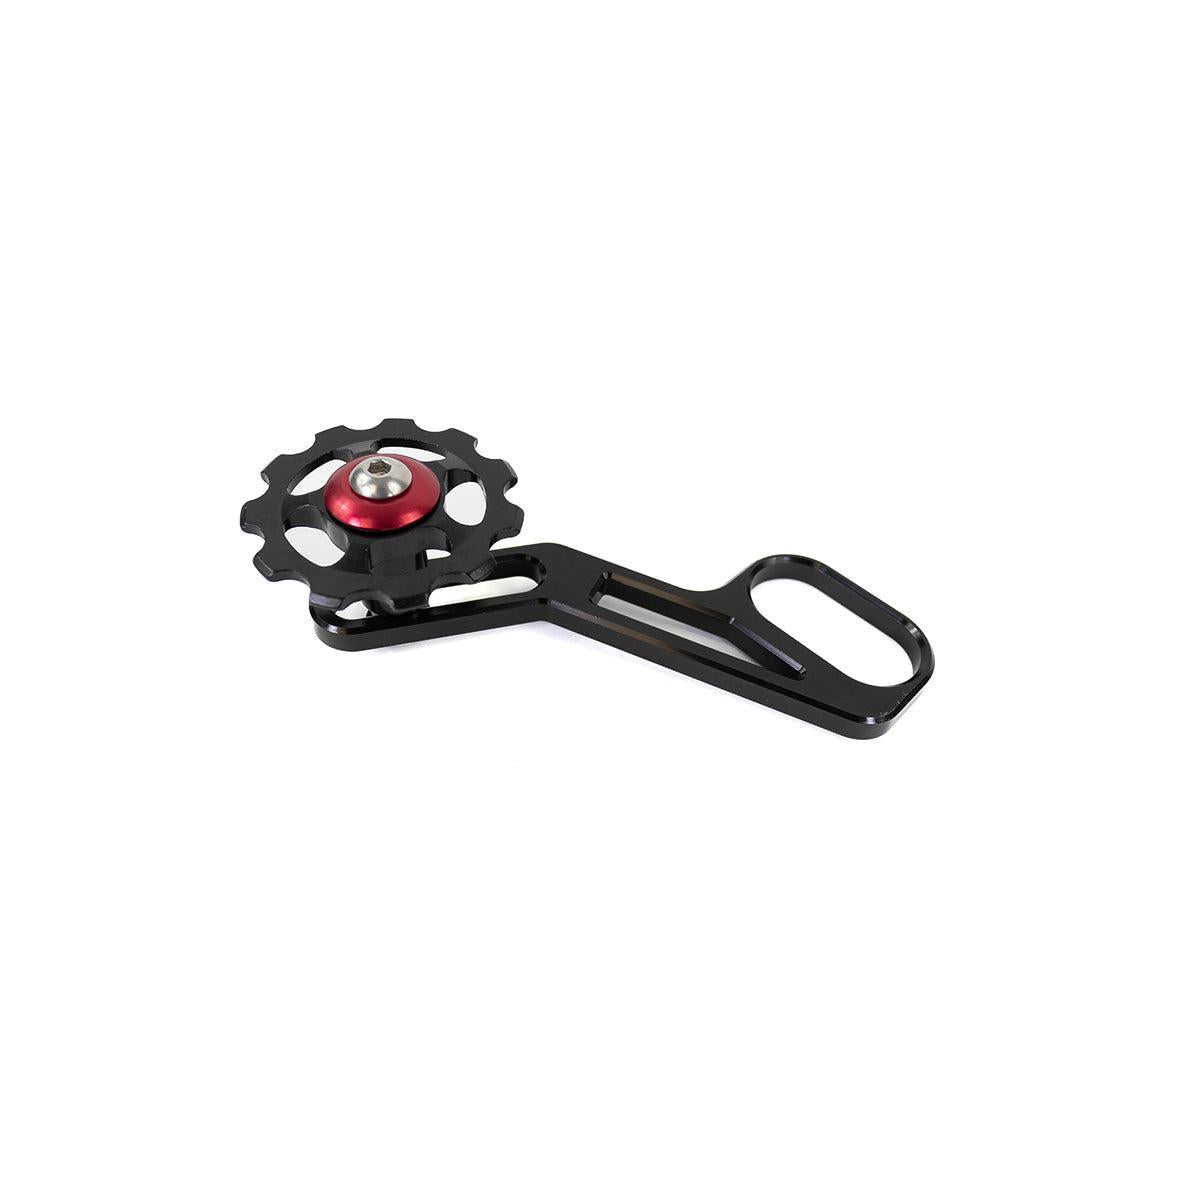
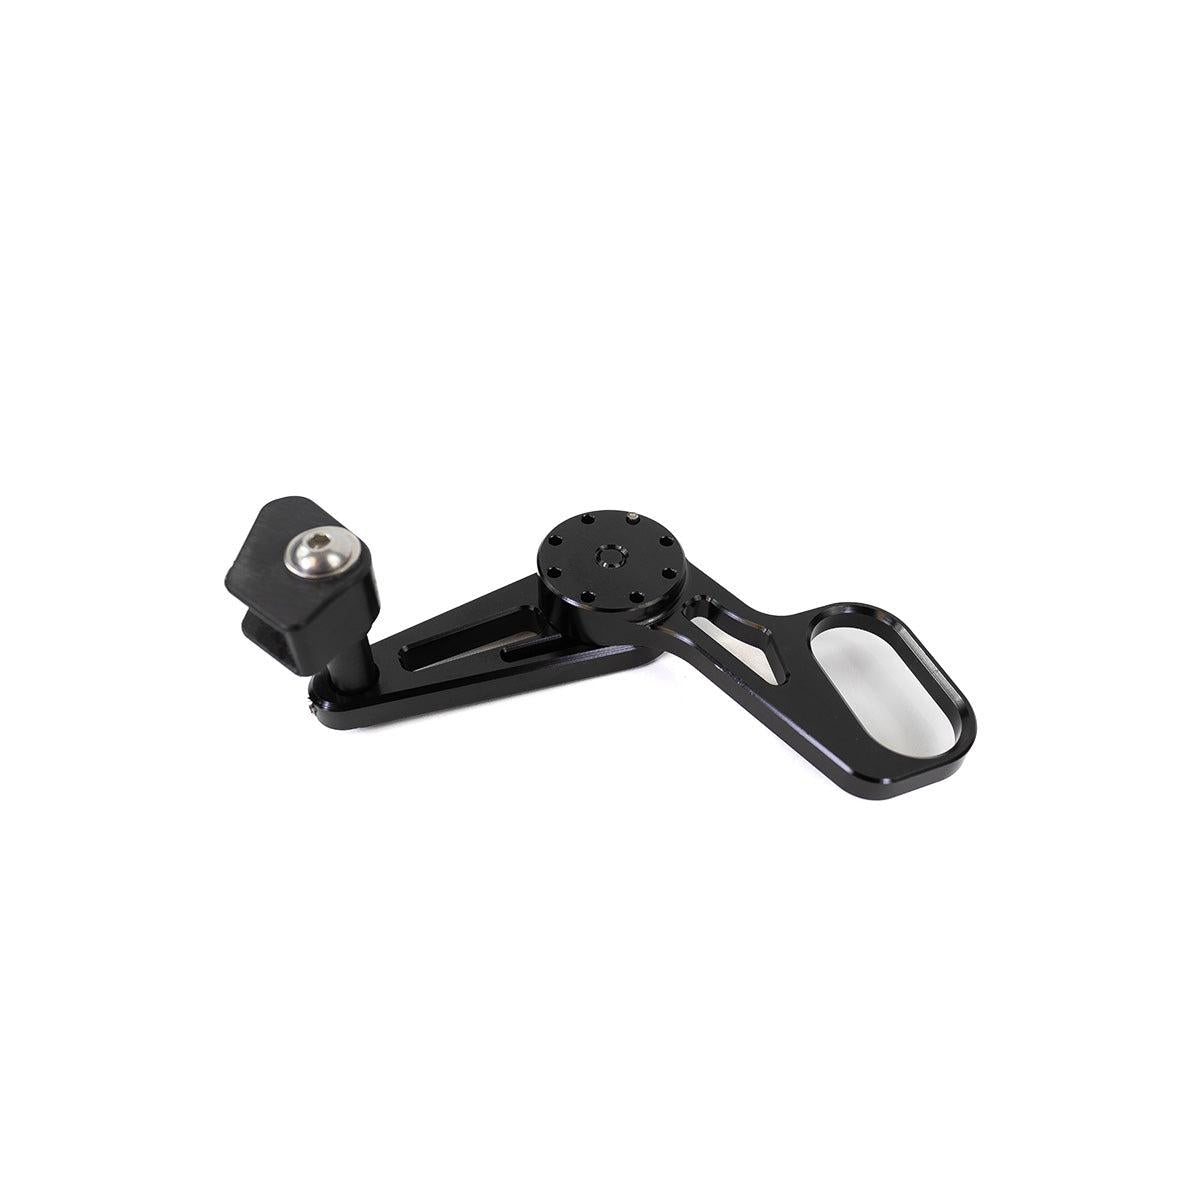
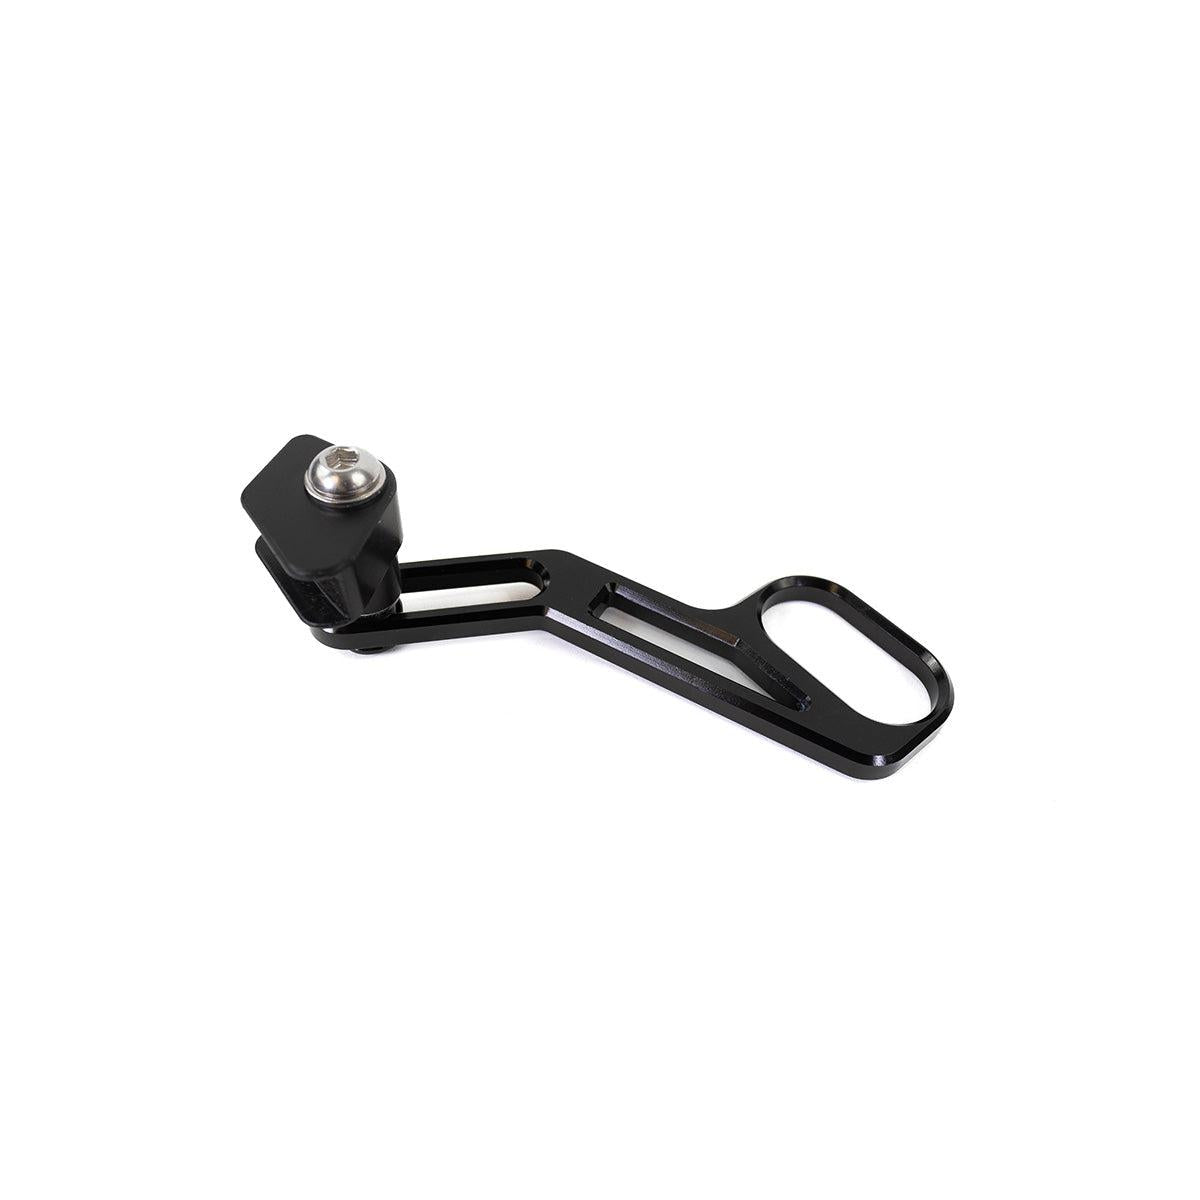
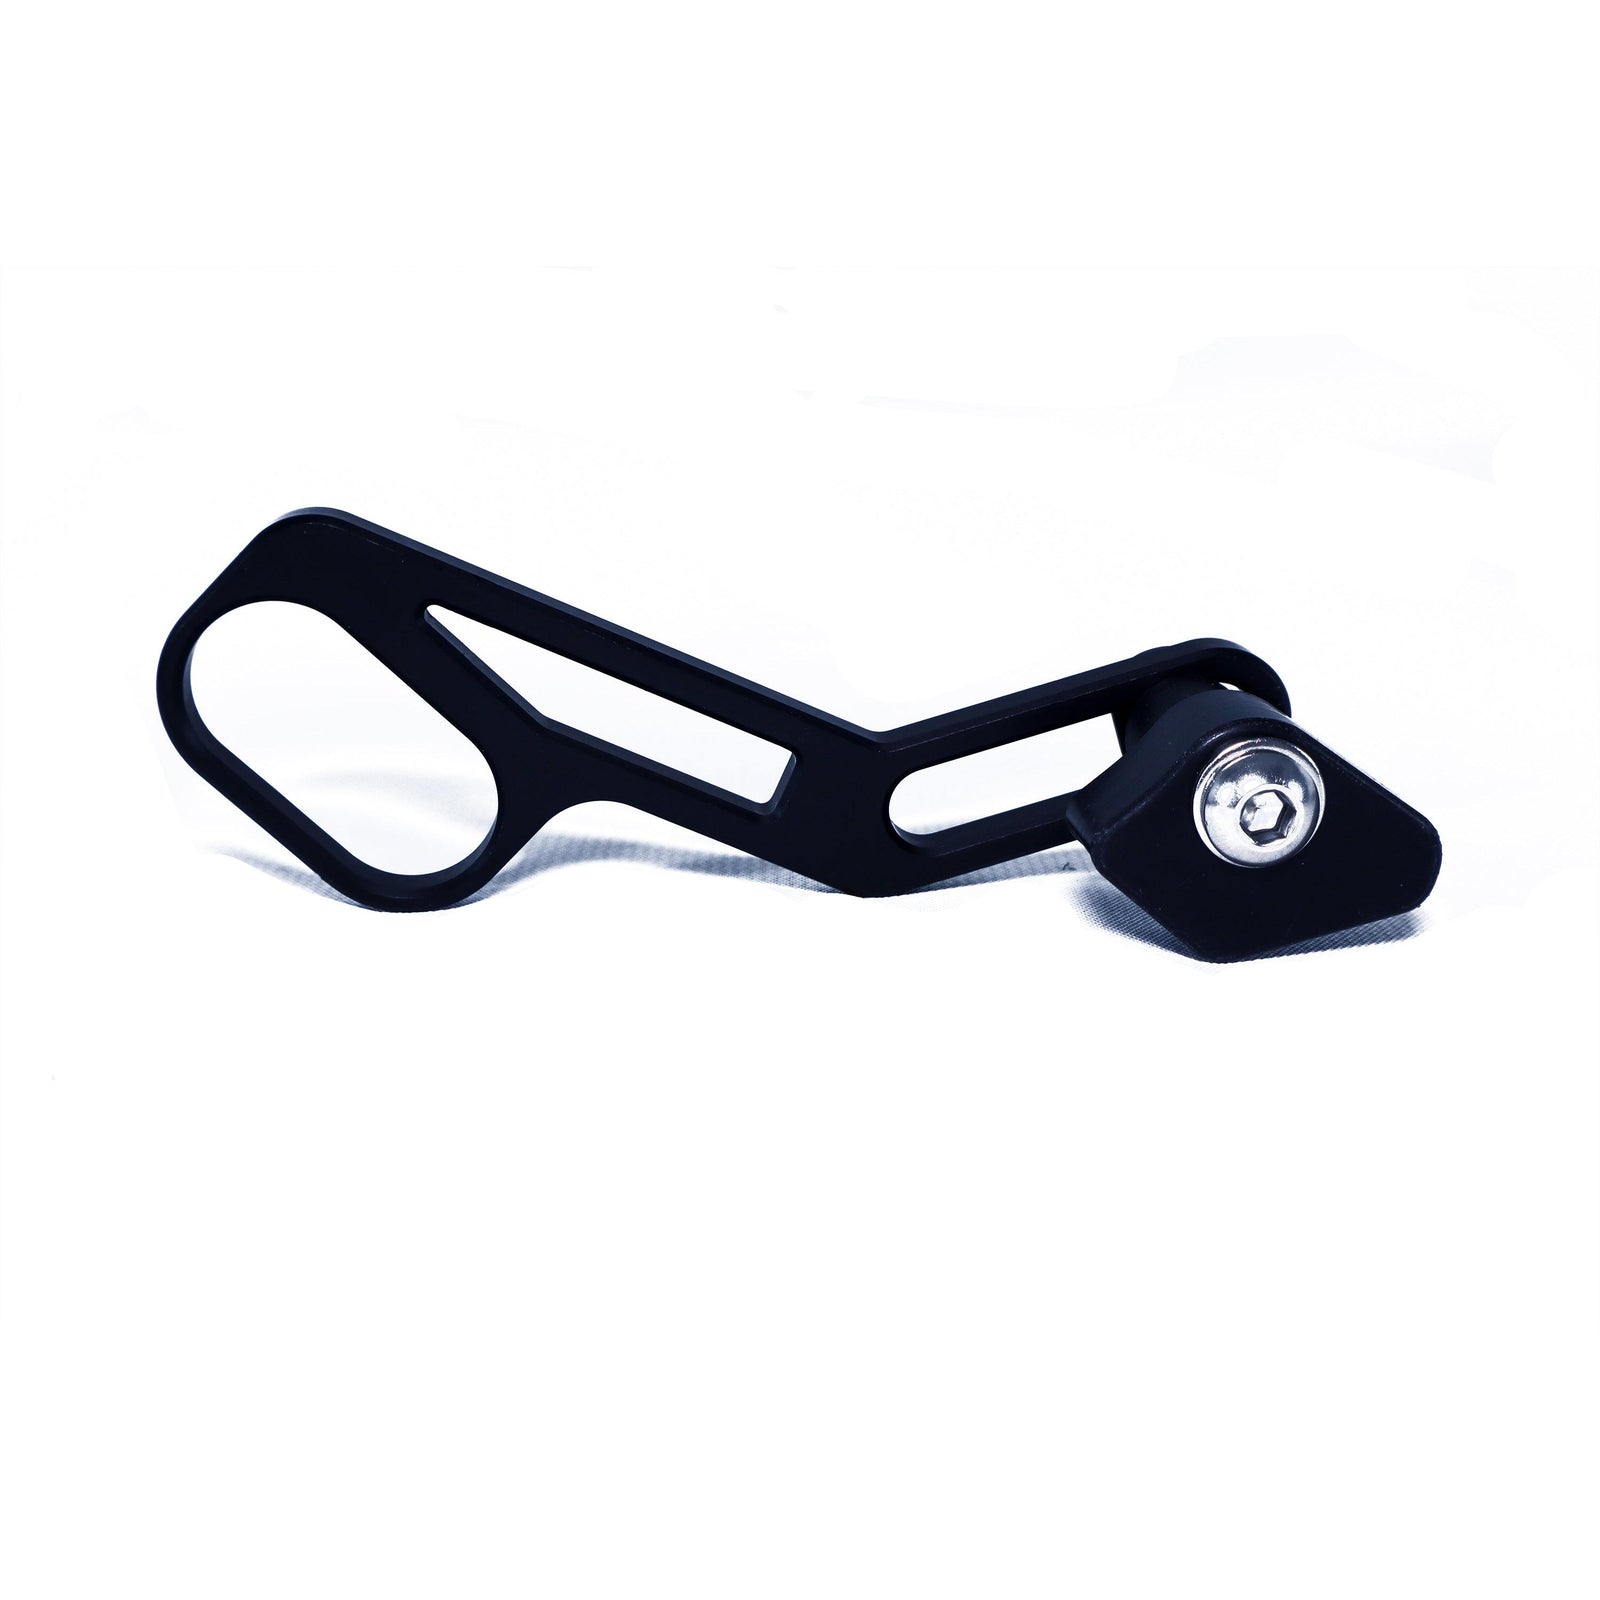
O.E. - Original Equipment - the Stock Replacement 7075 Aluminum Arm w/ Delrin Guide . This is the Lightest and Most Efficient Guide for your Vision Frame.
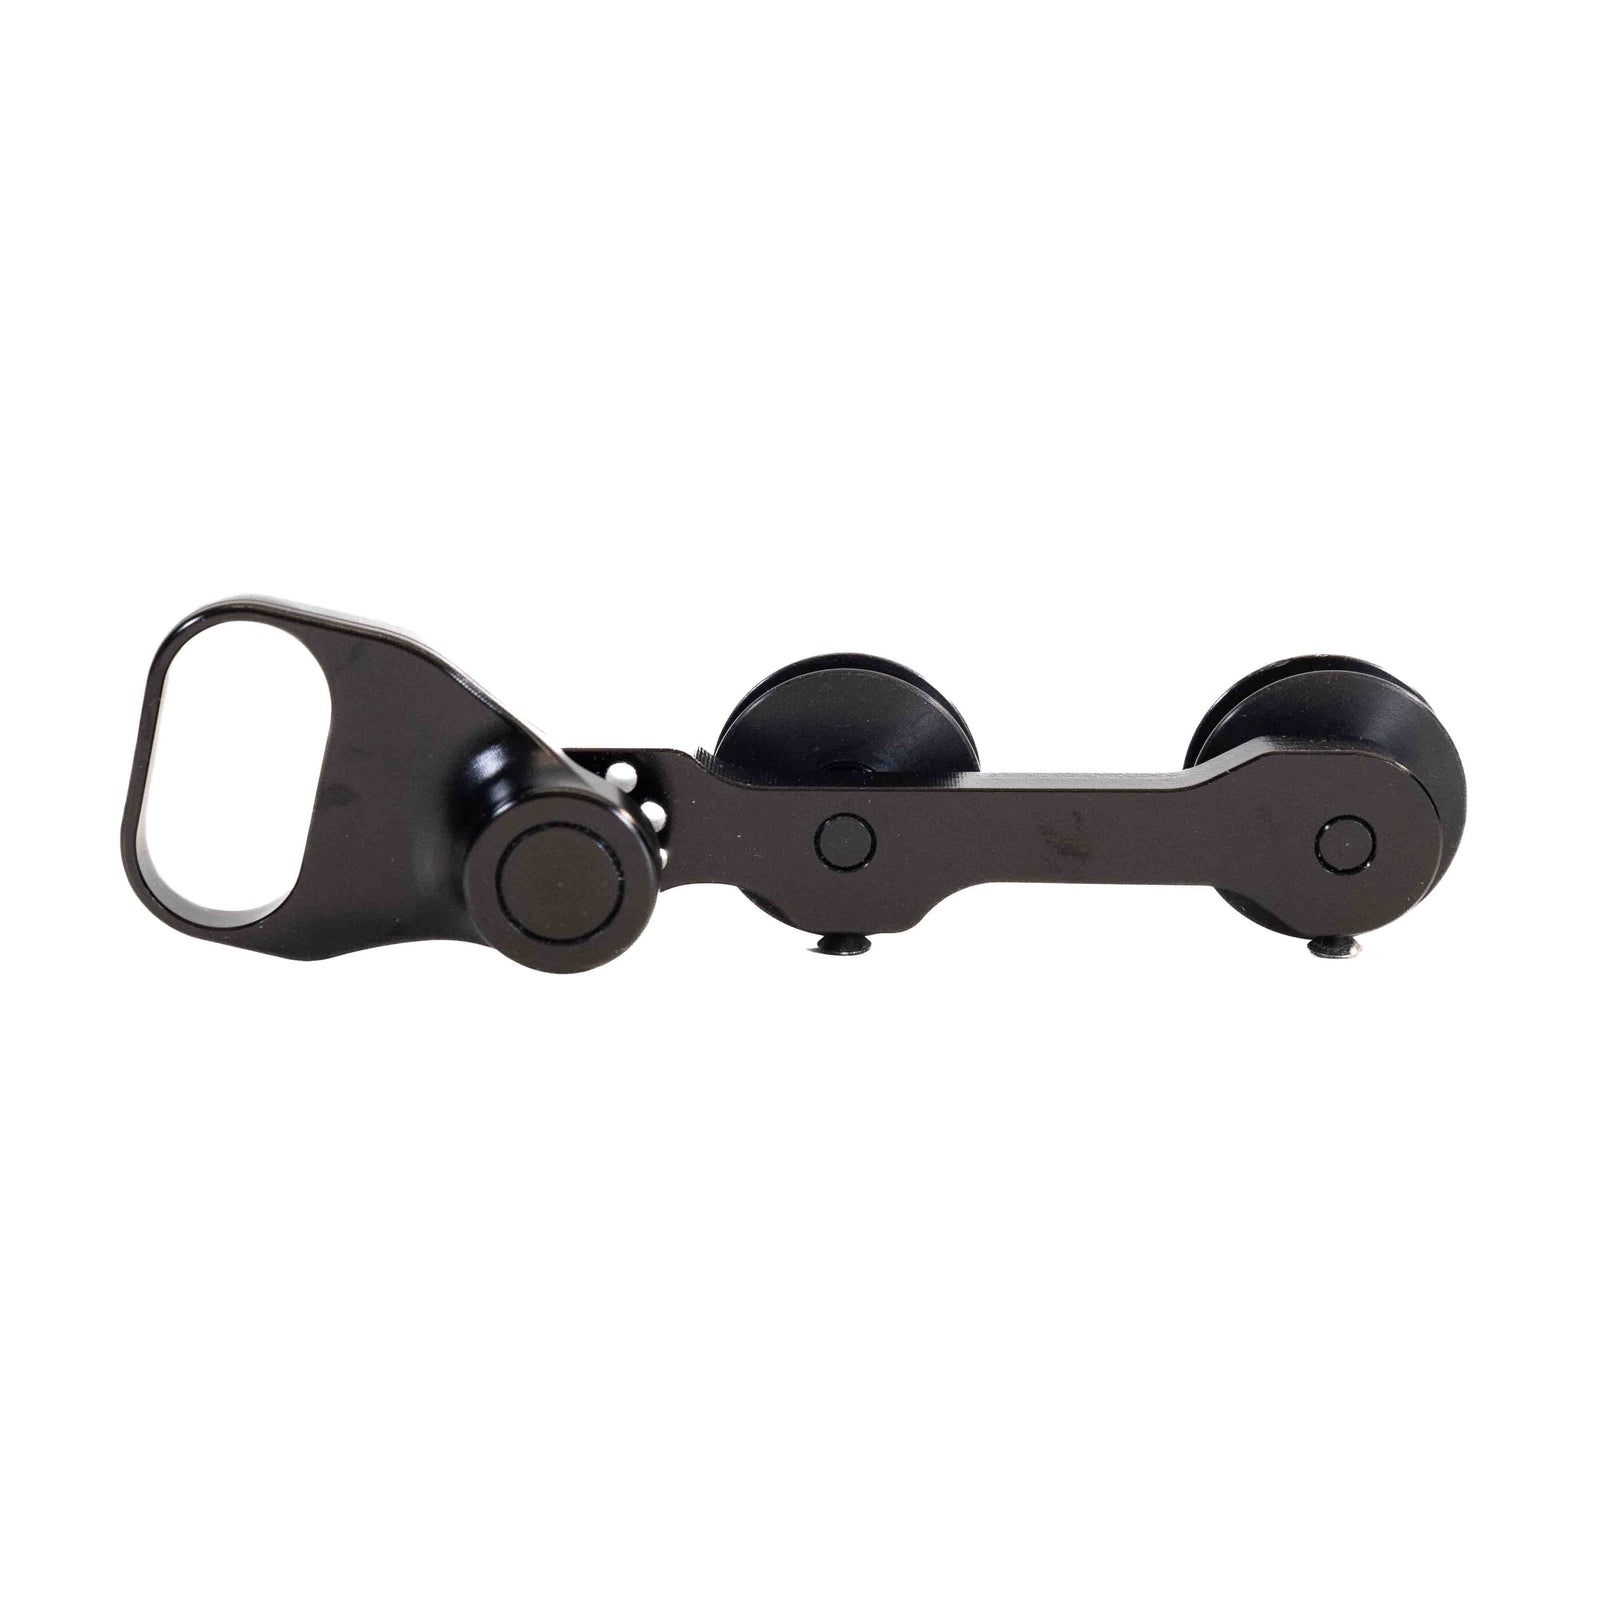
Alt. - The Alternative - You have asked for it, so we are offering it to you, the Guide with a Wheel - We have tested it and found it not to be as efficient, and it is a more complicated set up, but if you want to try it, or think you want a wheel, we have it for you. Please be extra careful when setting up your guide with a wheel to ensure proper chain line. We have found that the chain will jump if you don't have it set up properly and it will cause the chain to come off.
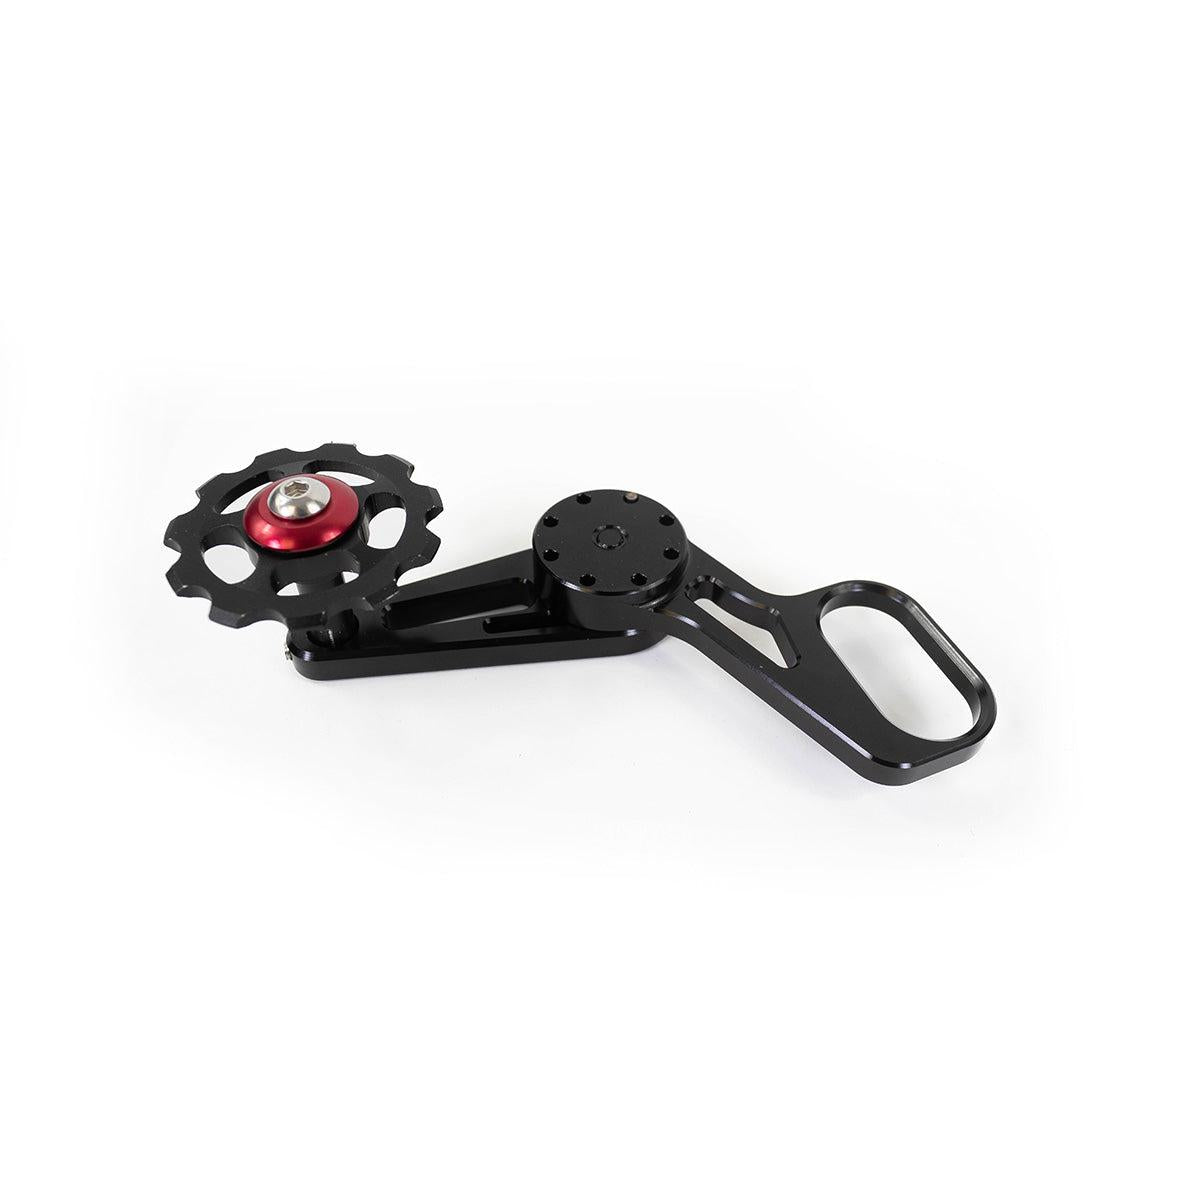
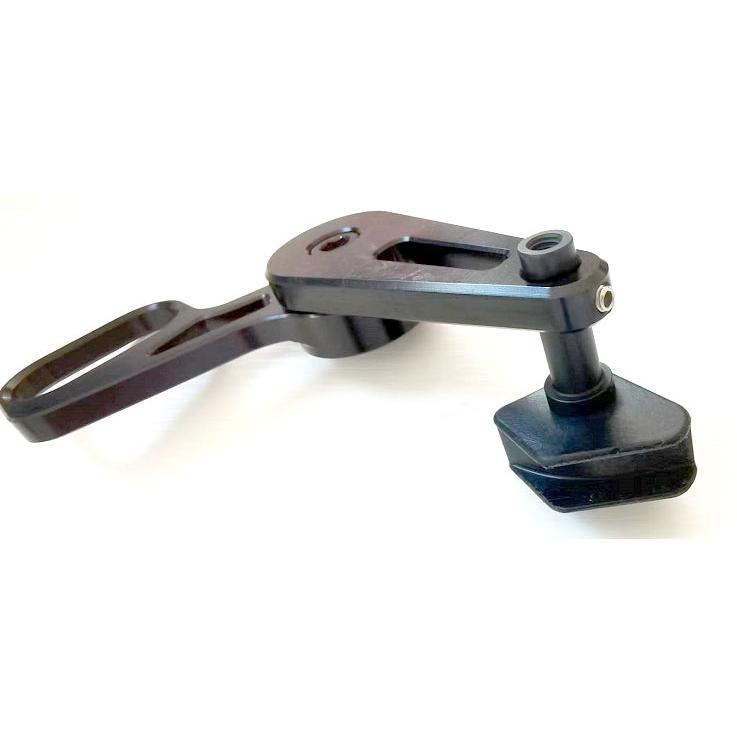
The Team Edition - The Team Edition is heavier as it is a spring loaded idler, but now you never have to worry about re adjusting the back tension nut on the original guide for gear changes or removing a wheel, just push the idler up and you have slack, let the spring loaded idler down and you have perfect tension, every time. It also helps with any tight loose spots for out of round chain rings. This is the Ultimate idler upgrade.
Alt /T - The Alt /T Idler takes the Team Edition and ads the wheel. Again, we don't recommend the wheel system, the Guide is much more efficient, but if you want to have one that is available to you, it is here. Please be careful with your chain-line. It is very finicky when running a wheeled system.
The Supercross BMX Vision Idler Arm assembly is the direct Factory replacement for the Vision F1 and Vision RSX BMX Race Frames. It's a complete Assembly featuring: a 7075 Idler Arm, Delrin Chain Guide, alloy stop nut, Allen bolt, and washer.